How to make homemade vanilla ice cream with just three ingredients. No ice cream maker necessary, this no-churn vanilla ice cream recipe is easy to prepare and is quite the crowd-pleaser!
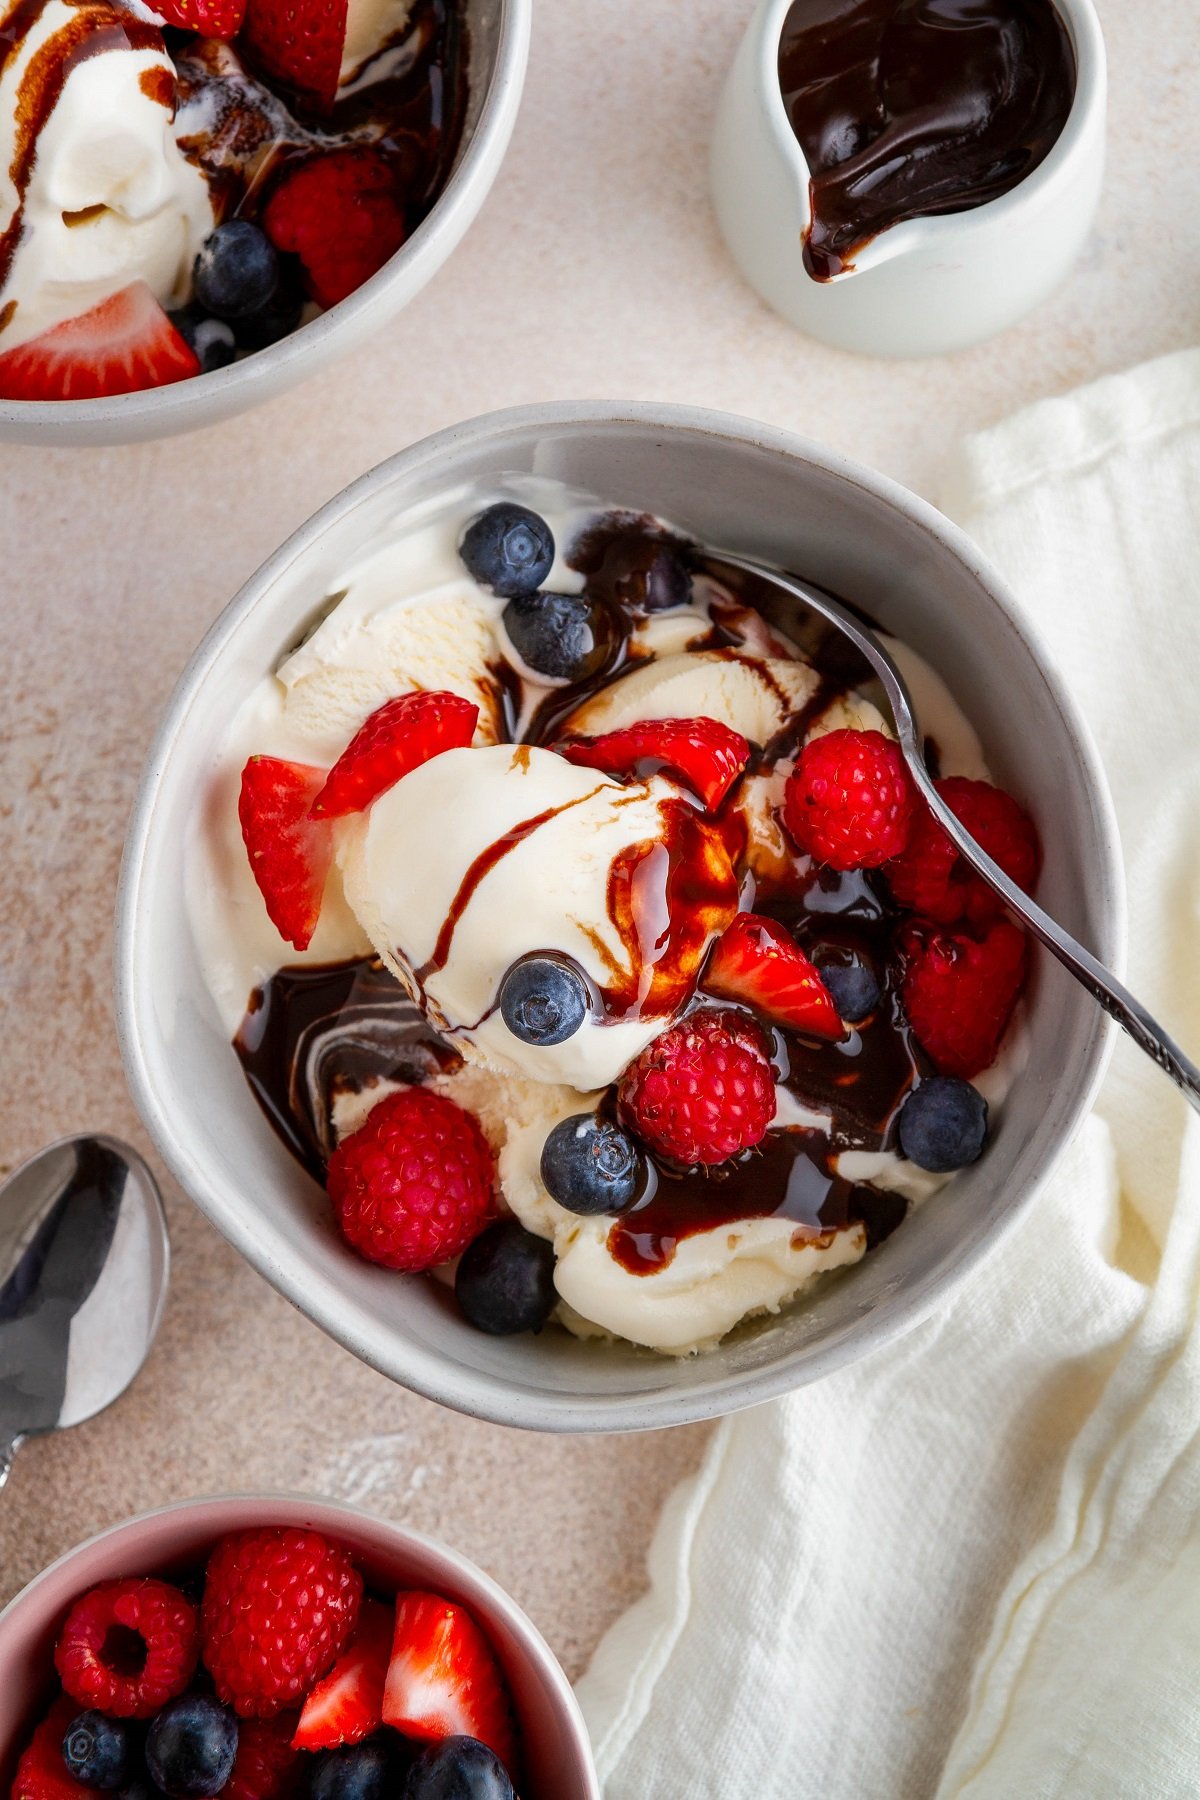
I first posted this easy recipe for no-churn vanilla ice cream back in 2016. Because I typically share dairy-free, refined sugar-free dessert recipes, I experienced a great deal of cognitive dissonance over whether or not I should share it.
My internal debate stemmed from wanting to provide healthier options, but on the flipside, I knew the recipe was just so delicious, affordable, and easy that it would be useful in so many households.
In the end, the recipe won. It’s simply too good not to share!
It may be plain vanilla, but you guys: it’s filthy.
This basic vanilla ice cream recipe has been one of my top dessert recipes ever since it made its debut! In fact, it has been a household favorite dessert among so many of my followers.
This basic recipe involves zero fancy equipment, a few minutes of prep, and only three ingredients, which you can find at any grocery store and a blender.
Since sharing this recipe for vanilla ice cream, I have also posted my 3-Ingredient No-Churn Strawberry Ice Cream and my 4-Ingredient No-Churn Chocolate Ice Cream recipes, both of which use the same methodology as this one.
If you are dairy-free and prefer using natural ingredients, make my Dairy-Free Vanilla Ice Cream or my Dairy-Free Chocolate Ice Cream.
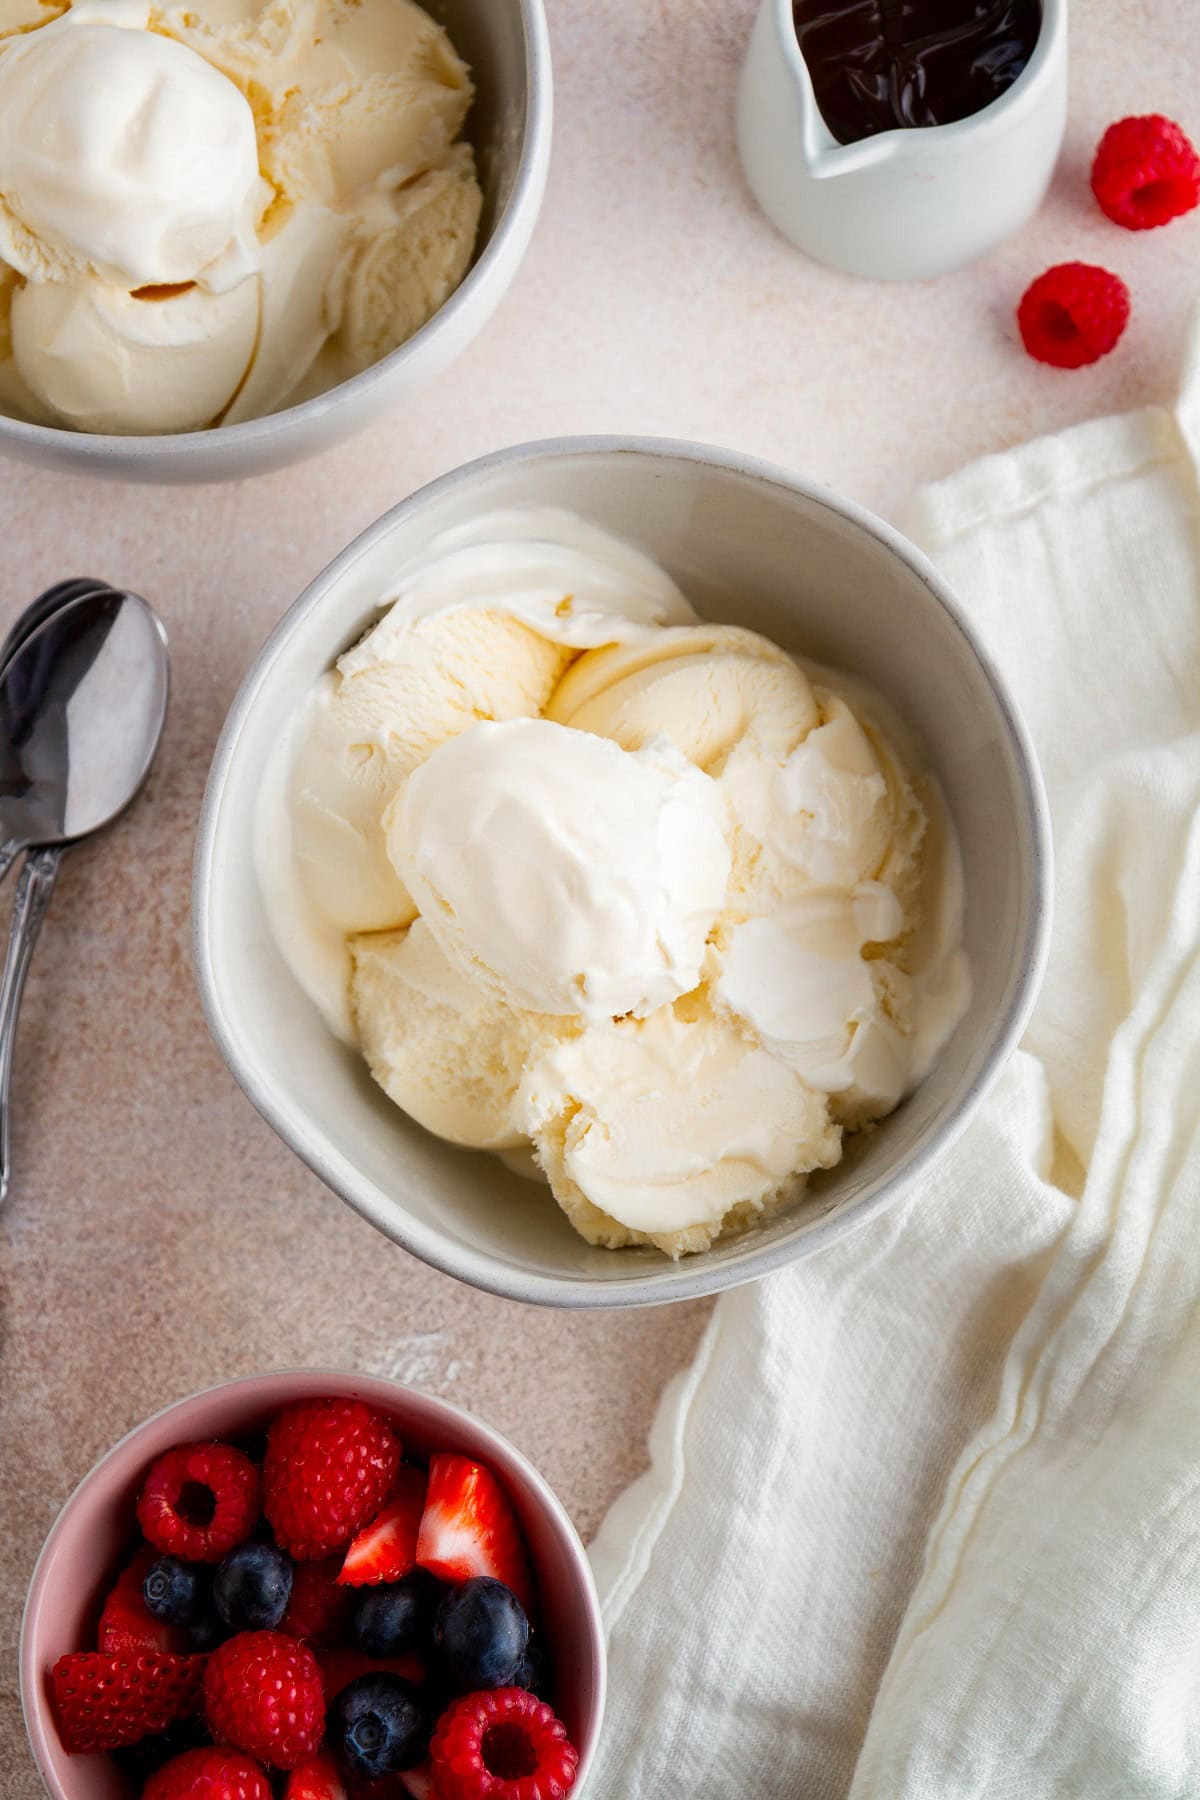
Recipe Highlights:
This easy no churn ice cream recipe requires only THREE ingredients: sweetened condensed milk, heavy whipping cream, and vanilla extract (or vanilla bean).
It is egg-free, meaning you don’t need to temper eggs or egg yolks to prepare the ice cream base. In this sense, there is no cooked custard base which also means the ice cream base does not need to chill in the refrigerator.
Because this is a no churn recipe, no ice cream machine is needed. However, if you own an ice cream machine, feel free to put it to use here! Doing so will result in the dreamiest creamy ice cream.
The whole recipe is prepared using a blender, so it literally takes seconds to make. The hardest part is waiting for the ice cream mixture to freeze. If you don’t own a blender, you can always use a large bowl and a hand mixer to blend the ingredients together. In this sense, no special equipment is required!
The end result of making your own homemade ice cream is you end up with the fluffiest, most succulent creamy vanilla ice cream. You can use this as your base recipe for all sorts of ice cream flavors. Simply add your favorite add-ins and get creative!
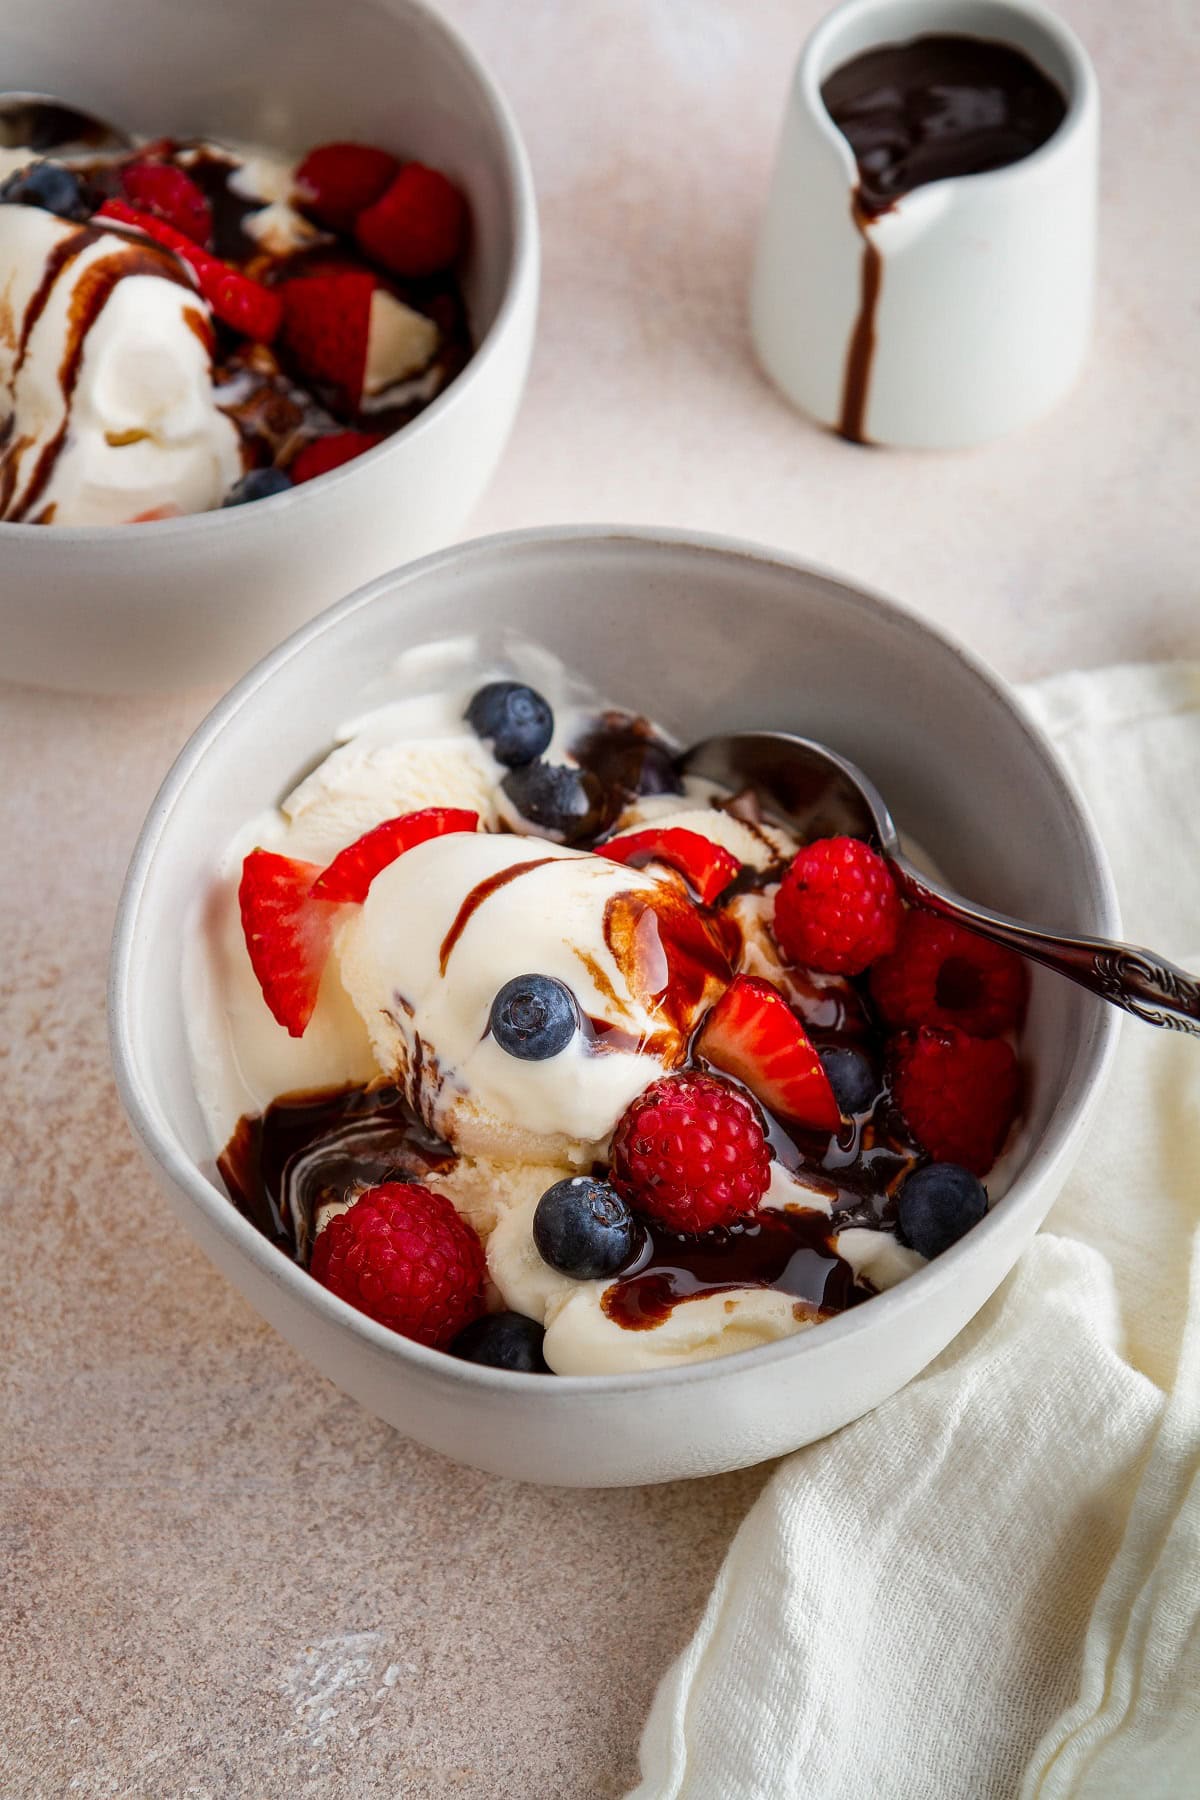
Let’s discuss the simple ingredients needed to make this delicious homemade ice cream.
Ingredients for Easy Homemade Ice Cream:
Sweetened Condensed Milk: The ticket to making the best homemade ice cream is sweetened condensed milk.
The thick consistency of condensed milk, combined with the fact that it is already sweetened makes a huge difference in resulting in the creamiest ice cream.
This ingredient is also responsible for the majority of the rich flavor.
The brand of sweetened condensed milk you use does make a difference. I recommend sticking with Eagle Brand or a reliable brand you trust.
Heavy Whipping Cream: Because sweetened condensed milk is very thick and very sweet, we need to thin it out slightly by adding some heavy cream.
It is the combination of condensed milk and heavy cream that eliminate the need for egg yolks or churning.
Pure Vanilla Extract: The all star ingredient that is responsible for all the vanilla flavor!
Be sure to choose a quality vanilla extract such as Nielsen-Massey or Simply Organic. You can also use vanilla bean paste or real vanilla bean.
Sometimes with traditional ice cream recipes, you get those random little hunks of ice or icy texture…That doesn’t happen with this recipe. It’s basically the best old fashioned vanilla ice cream you can enjoy!
With that said, there isn’t much room for improvisation when it comes to the ingredients you use. If you substitute half & half or go dairy-free, you’ll end up with a different (less creamy or soft) result. If you’re okay with that, cool!
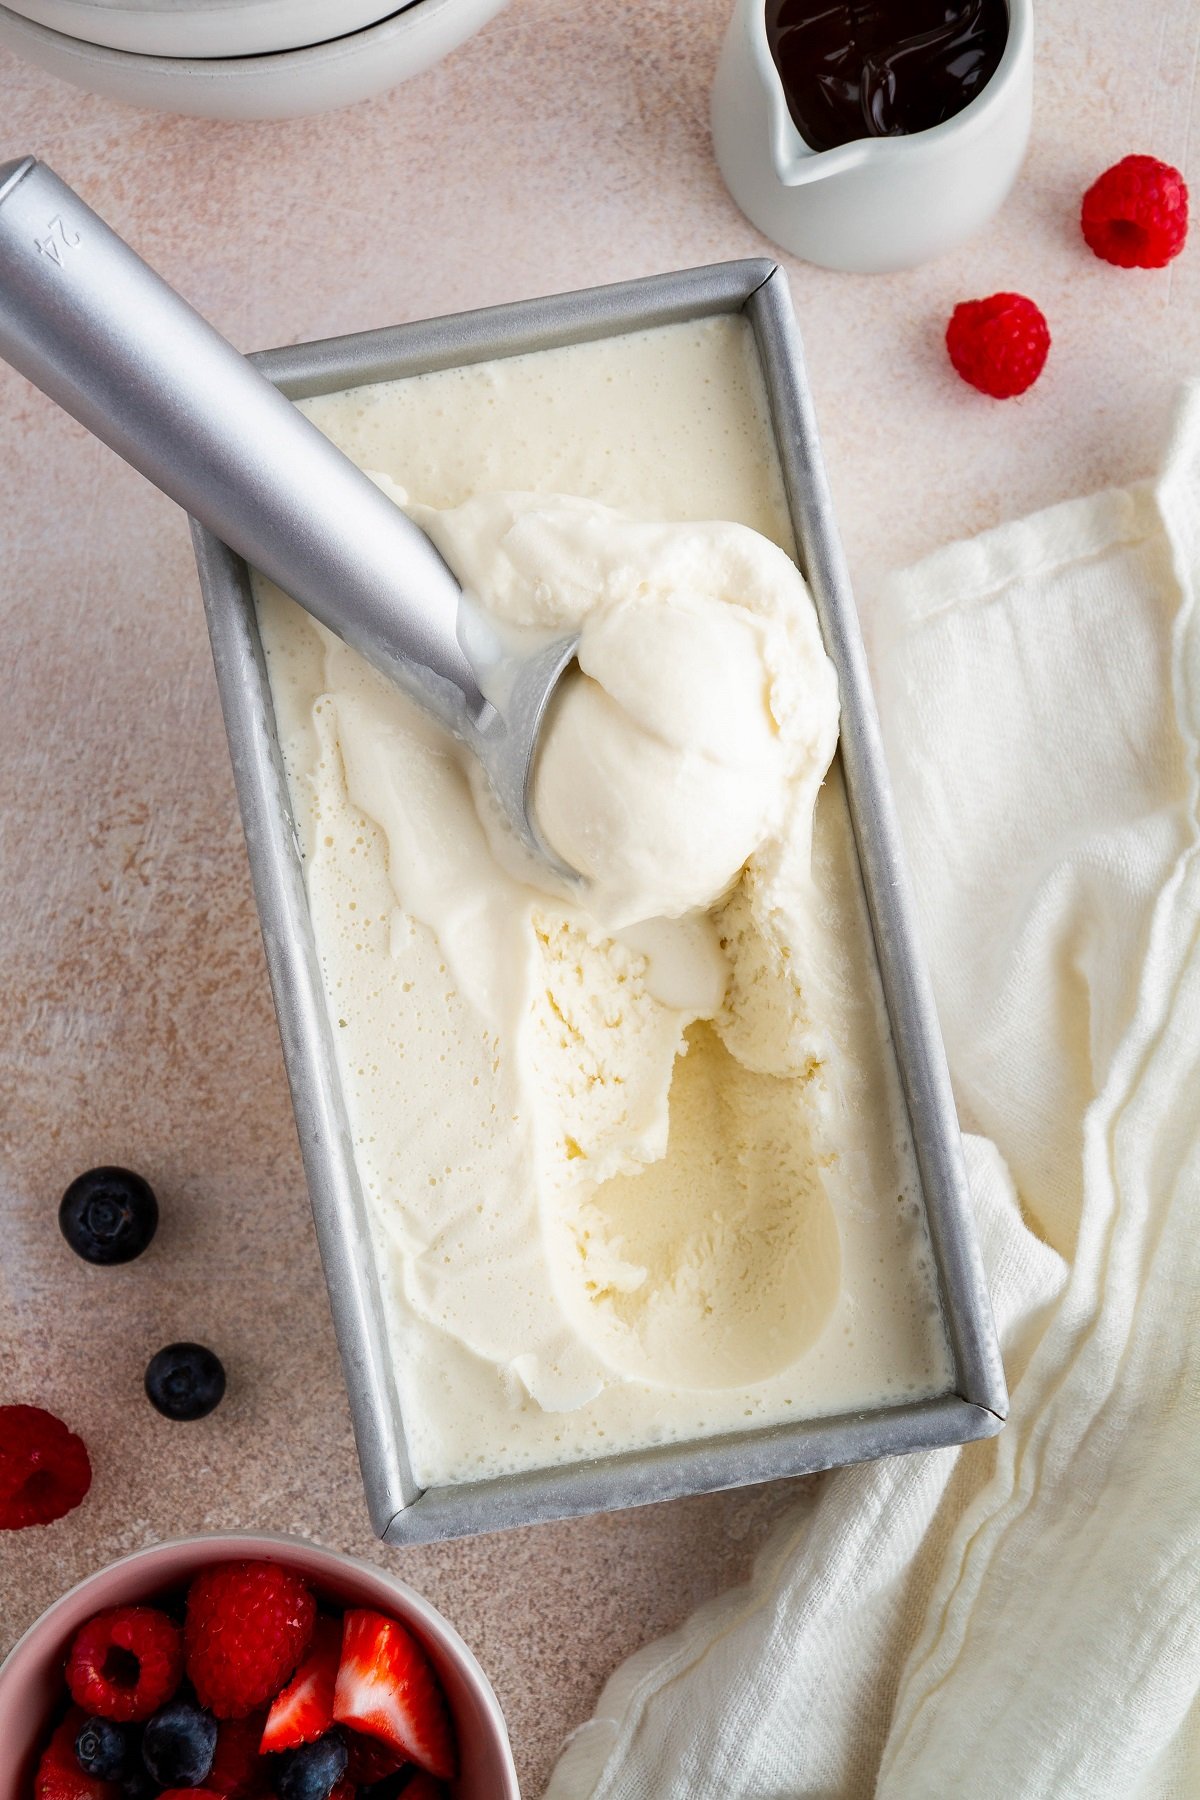
How to Make No-Churn Vanilla Ice Cream:
Add the three ingredients (plus a dash of sea salt) to a blender or food processor and blend on a low speed just until the ingredients are combined. Avoid blending the mixture for too long in order to avoid the formation of ice crystals.
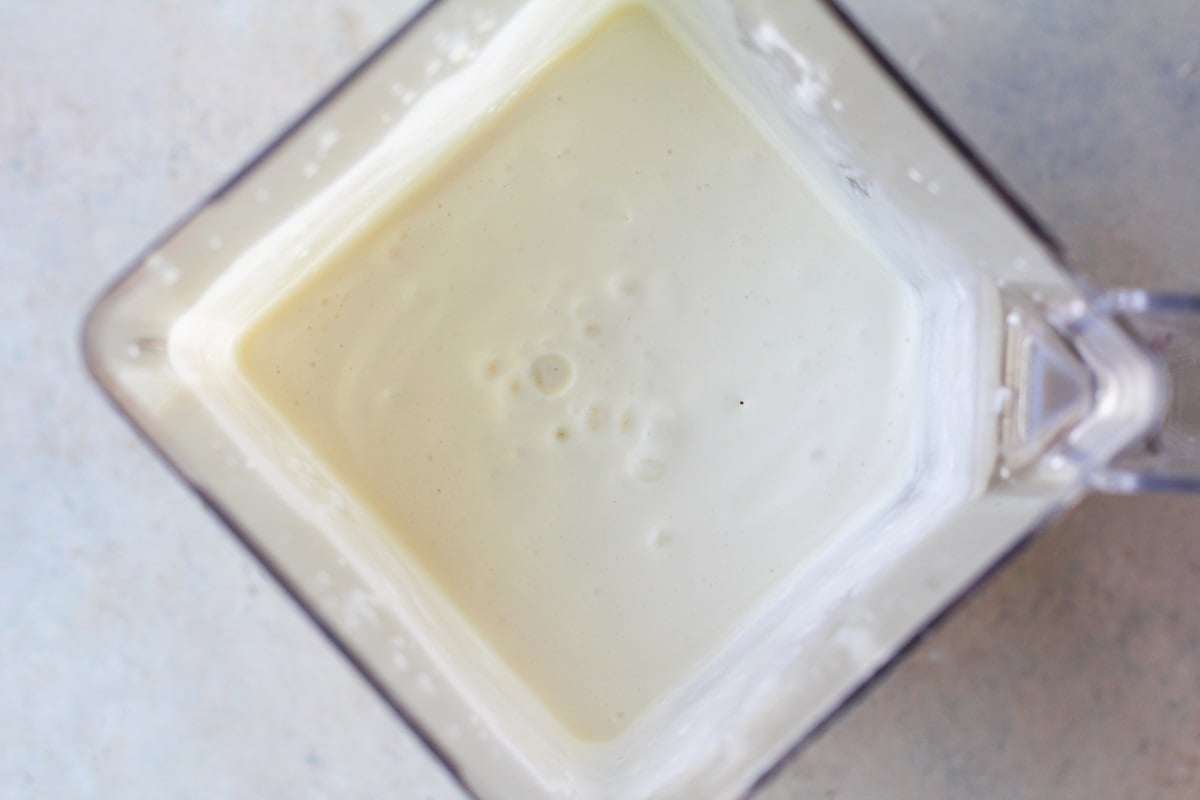
Over-blending the mixture on high speed could result in a whipped cream-like consistency. This can cause small ice crystals or even large ice crystals to form in the ice cream while it freezes, giving it an icy texture.
Once you have your ice cream base, you can freeze it immediately in a freezer-safe container. Many people transfer the ice cream base to a loaf pan and cover it with plastic wrap to freeze.
If you do own an ice cream maker, chill the ice cream mixture in the refrigerator for a couple of hours or until the mixture is completely chilled before pouring it into your ice cream maker.
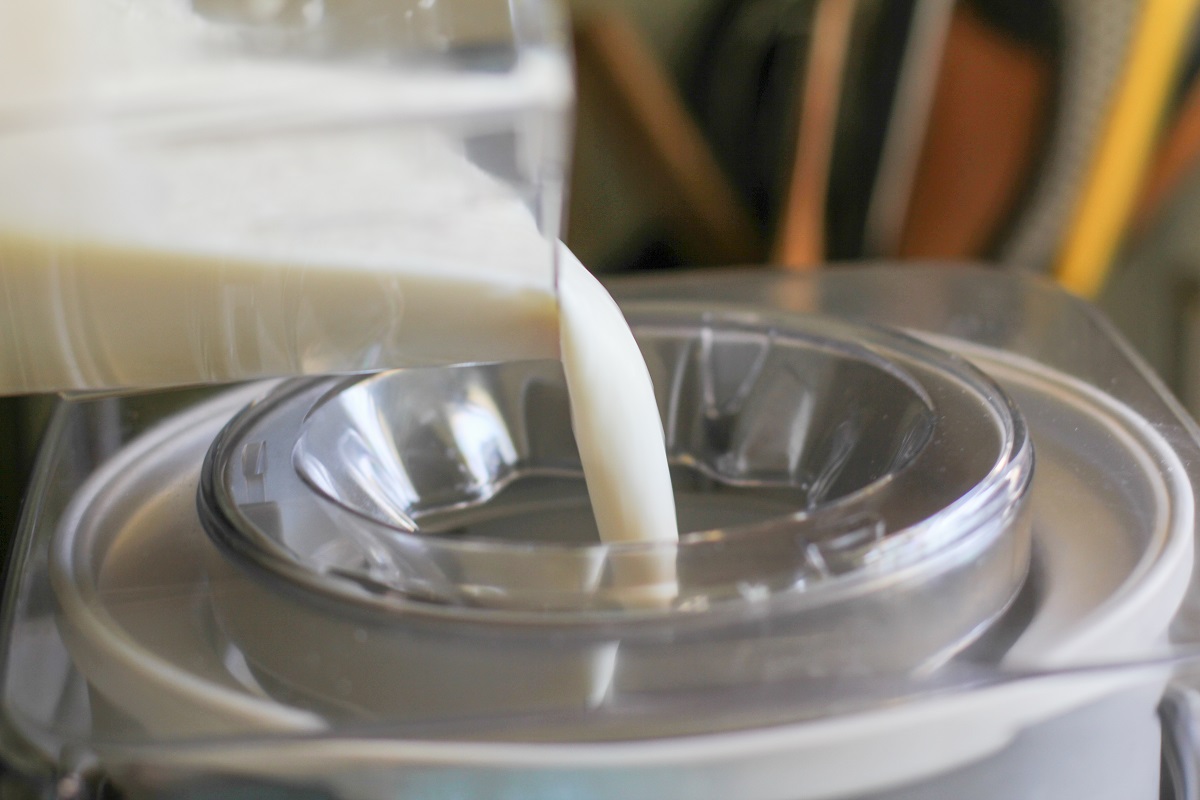
Turn your ice cream maker on and allow the ice cream to churn until it reaches a thick, soft serve consistency.
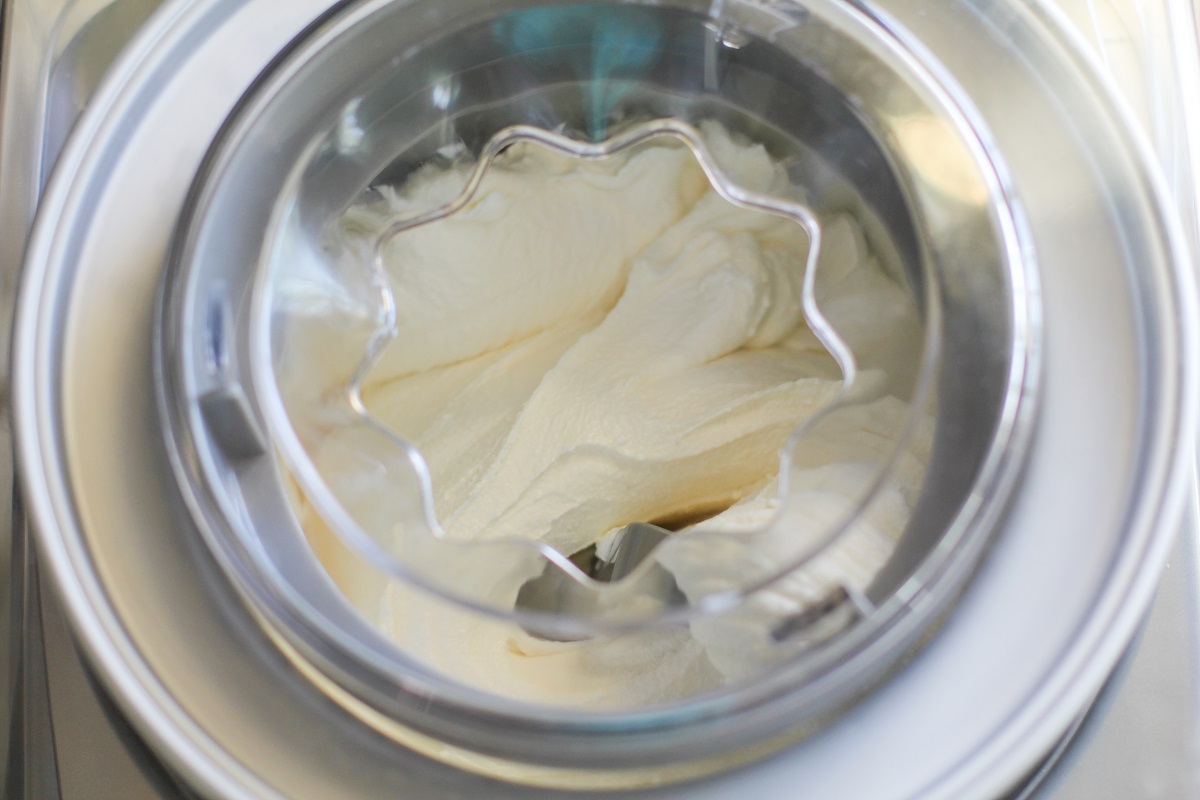
Once the ice cream has finished churning, you can serve it immediately for soft serve consistency, or transfer it to a freezer-safe container and freeze for 2 hours.
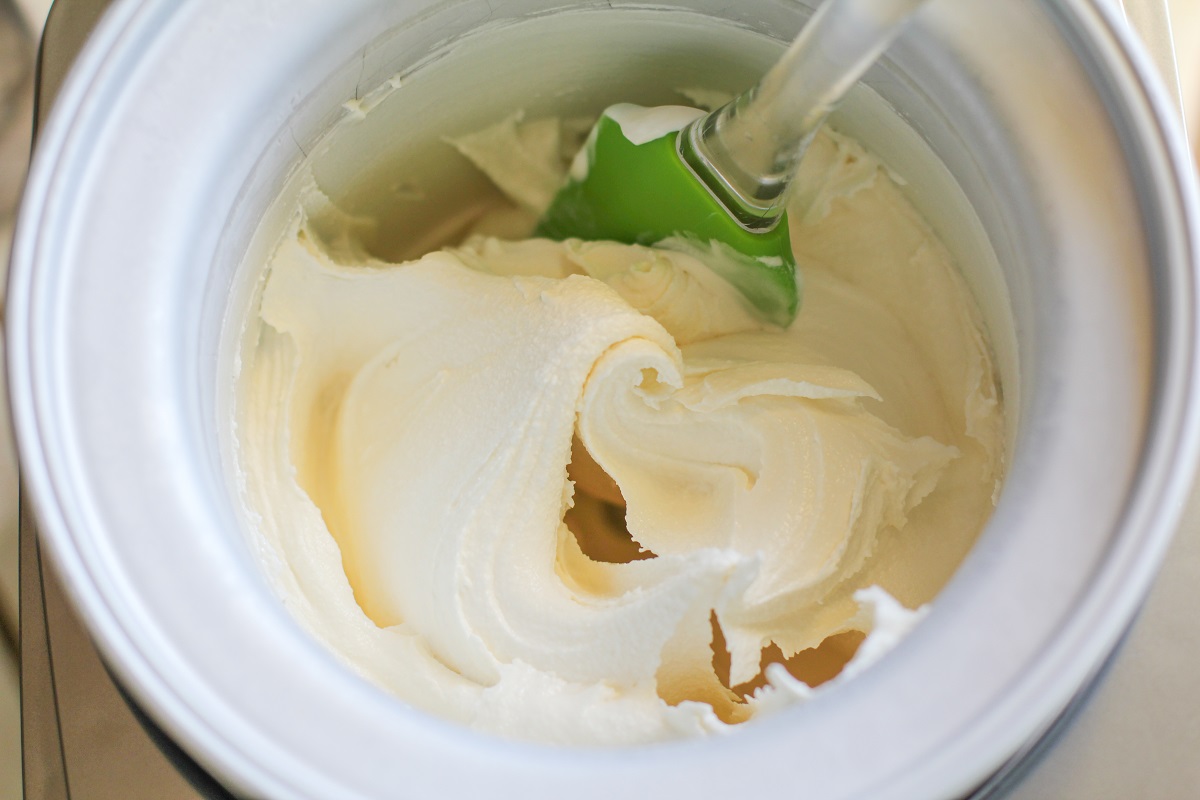
After the ice cream has sat in the freezer, it will have the same consistency as store-bought ice cream.
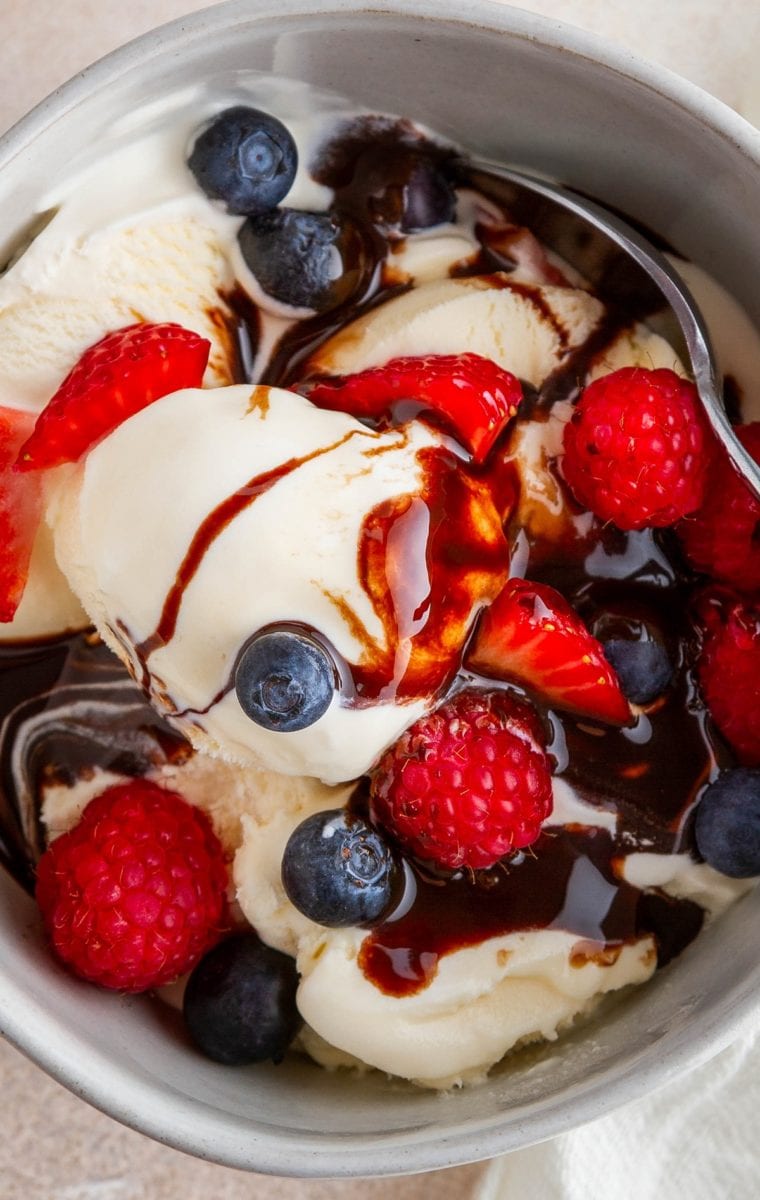
Serve with your favorite toppings like chocolate sauce, fresh blueberries and strawberries, and a sprinkle of chocolate chips.
How to Store Homemade Ice Cream:
Be sure to keep the ice cream in an airtight container for the freshest results. Homemade ice cream will keep in the freezer for up to 3 months.
Ice Cream Flavor Ideas:
My primary reason for posting this recipe is it’s basically your gateway to all no-churn ice creams. Simply add your flavors (like peppermint extract, rum or other booze, peanut butter, caramel sauce, cocoa, fresh fruit, etc.), and you can prepare any type of ice cream you desire. One recipe is the gateway to all the fun. Here are some ideas.
- If you’re wild and crazy about vanilla bean ice cream, you can replace the vanilla extract with the scrapings of two vanilla beans.
- Add 1/2 cup raw cacao powder to make chocolate ice cream. Toss in some chocolate chips, why don’t ya!
- Blend 1 to 2 cups of fresh berries (I recommend strawberries) into the ice cream base.
- Add 1 1/2 teaspoons pure peppermint extract and 1 cup of mini chocolate chips to make mint chocolate chip ice cream
- Incorporate 1/4 cup instant coffee granules to make coffee ice cream.
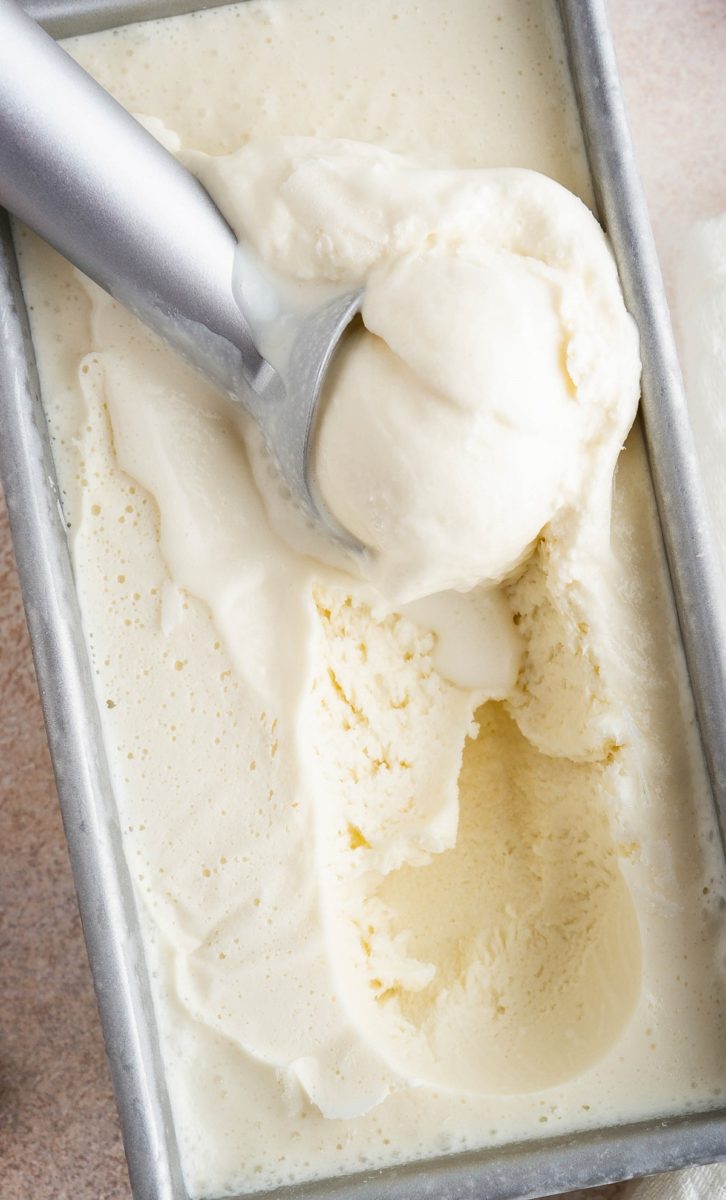
And that’s it! Serve this delicious treat with apple pie or chocolate chip cookies for an unforgettable dessert.
Looking for more delicious ice cream recipes? Here are some of my personal favorites.
More Ice Cream Recipes:
- Paleo Mint Chocolate Chip Ice Cream
- Paleo Coffee Ice Cream
- Vegan Key Lime Ice Cream
- Roasted Strawberry Coconut Milk Ice Cream
- Rum Raisin Coconut Milk Ice Cream (Vegan)
- Dairy-Free Peanut Butter Chocolate Swirl Ice Cream
The easiest homemade vanilla ice cream recipe you’ll ever make!
3-Ingredient No-Churn Vanilla Ice Cream
Ingredients
- 1 14-oz. can sweetened condensed milk
- 2 cups heavy cream (1 pint)
- 2 teaspoons pure vanilla extract
- 1/4 teaspoon sea salt
Instructions
No-Churn Instructions:
- Add all of the ingredients for the ice cream to a blender. Blend on low speed until the ingredients are well-combined but avoid over blending. Note: If you don't own a blender, you can mix the ingredients in a large mixing bowl using an electric hand mixer.
- Pour the ice cream base into a freezer-safe container, cover, and freeze for 5 hours, or until frozen solid.
- When ready to serve, allow ice cream to thaw for a few minutes on the counter. Scoop ice cream into bowls and serve.
Instructions for Using an Ice Cream Maker:
- Place the bowl of your ice cream maker in the freezer overnight (or follow the instructions for your specific ice cream maker ahead of time).
- Add all of the ingredients for the ice cream to a blender. Blend on a lower speed until well-combined but avoid blending the mixture too much or it will produce an icy texture.
- Set up your ice cream maker and pour the vanilla ice cream base into the frozen bowl of the ice cream machine. Turn the ice cream maker on and allow it to churn until very thick and machine begins to slow down.
- Either serve immediately for soft serve consistency, or transfer ice cream to a freezer-safe container, and freeze for 2 hours. When ready to serve, allow ice cream to thaw 2 to 5 minutes before scooping and serving.
Video
Nutrition
This post contains affiliate links, which means I make a small commission off items you purchase at no additional cost to you.




My kiddos and I made this yesterday for my daughters Birthday. It came out so delicious!!! I’ve already shared this recipe and back it up 100% THANK YOU so much for this!
Aww I love hearing that! Thank you for sharing, Brenda! xo
I made I made this ice cream using 2 cups of heavy, whipping cream one can of sweetened condensed milk and one teaspoon of vanilla and it turned out tasting like Cool Whip and hard instead of soft and smooth. What did I do wrong?
Hi Karen! How long did you blend the ingredients in your blender? I mention this in the post, but you want to blend everything just until the ingredients are combined and no longer (or mixing by hand works too). I’ve found the recipe can turn out a little icy if it is over blended. Let me know what you think, and I can try to troubleshoot from here if that’s not the culprit.
This was so delicious. Better than any store bought ice cream. Made exactly as the recipe was written.
Thanks so much for sharing, Ronda!
loved the recipe but is there a way to reduce the sweetness of it? can you reduce the sweetened condensed milk and it come out the same
Hi Carolyn! You can definitely play with the portion of sweetened condensed milk, although reducing it too much will alter the texture of the ice cream (it won’t be quite as soft and fluffy). If it were me, I would probably use unsweetened condensed milk and add granulated sugar to your personal taste. If you go this route, you will need to dissolve the sugar so you can heat all the ingredients in a saucepan until the sugar is dissolved and then refrigerate it until chilled. I hope this helps!
freeze dried strawberries make incredible strawberry ice cream. on amazon. almost 1/2 cup of the powder.
Nature’s Charm Sweetned Condensed Coconut Milk is the best non dairy scm.
also, canned goat milk is incredible instead of whipping cream or coconut milk. If you’ve ever had LaLooz goat milk ice cream, you know what I mean. So rich!
All of that sounds amazing, Debra! Thank you for sharing! xo
This was a tasty recipe. It certainly tasted different than the standard vanilla recipe. It tasted more like a carmelized vanilla IMO. I think in the future, I would try half the can of sweet milk.
Thanks so much for the feedback, Anna! This is helpful to others who want to try the recipe 🙂
I haven’t made it yet, but thank you for this recipe! I’m glad I read the whole post to find out the base needs to be chilled before churning, because it doesn’t say that in the actual recipe. Thank you also for linking dairy-free recipes for the two of us who are allergic and intolerant!
My pleasure, Jessica! I’m happy you’ve found recipes you can make! Let me know if any questions come up in the meantime! xo
does the ice cream melt if kept in refrigerator for up to three months or should that be kept in freezer for three months
Thanks for catching that, Becky 😉 I edited the post to fix the instructions!
Hi, I tried your recipe yesterday exactly the way you posted and it’s delicious 👍
I’m so thrilled to hear it, Rachel! Thanks for sharing.
I never say anything is way too sweet but this is way too rich. Just tastes like frozen evaporated milk. Can’t really taste the vanilla.
I’di only use half the can of evap milk should I add more cream?
Do you remember what brand of sweetened condensed milk you used? There can be a lot of variation among different brands so it would be good to know which one turns out too rich. I’m thinking it may be better to use half & half instead of cream, but keep the same measurement for the sweetened condensed milk. That way you’re still getting the sweetness and creamy consistency, but less fat/richness. Although if you did want to reduce the sweetened condensed milk for the next round, I would add 2/3 cup of cream or half & half. Hope this helps! xo
I used h cream 2 cups then used 2 cup milk Vanilla 2 teaspoon pinch of salt mix it by hand untill all is blended. Poor it into the frozen bowl let the mixer do its job. My kids love it I make it Every holiday put it in freezer for 2 hours
I’m happy to hear that, Patricia! Thanks for sharing! 🙂
Hi, I am thinking about using this recipe for my students. Is it possible to do this with the Ziploc bags mixing method?
Hi Cheryl! This is the first I’ve heard of the Ziploc bag method, but after a quick googling, it sounds to me like it will work great! I haven’t tried the method myself but it seems like folks have had great success with it using standard ice cream recipes, so I think it would be just fine! Let me know how it turns out!
I make Butter Pecan with toasted pecans, butter and maple flavoring.
OOOH, that sounds amazing! Thanks for sharing, Janice! xo